
NPCs
A directory of every Heavyweight Fishing NPC: which ones sell rods, bait and skills, which give quest rewards, and how the timed wandering merchants and Spirits actually spawn.
Introduction
There are nineteen NPCs in Heavyweight Fishing, and they are the game's only interface for almost everything you do: buying rods, buying bait, buying skills, selling fish, rolling traits and picking up quests. What makes the directory worth reading is that they do not all behave the same way. A handful are universal — the Fish Buyer and Set Spawn exist on every island — while most are locked to a specific location, which means finding them is part of sailing rather than something you can assume. Two of them run on a timer rather than a location at all: the Maoshan Merchant and the Taoist Merchant both spawn on a thirty-minute rotation and disappear again after a short window, so they are opportunities to catch rather than shops to visit. The Spirit events follow the same pattern in a different form, appearing on an hourly cycle on three specific islands and charging a substantial cash fee per interaction with a low success rate. Knowing which NPC you need and how that NPC's spawn works saves more time than knowing what each one sells.
NPC Directory: Role, Location & Timing
| NPC | Role | Location | Timing / Cost |
|---|---|---|---|
| Sage Yijiu | Sells skills | Beginning Isle, Battlefield Isle | Two locations |
| Nanjiang | Trait rerolls | Beginning Isle | 5 crystals per trait item |
| Bait Seller | Bait tiers | Island shops | 3% to 50% luck |
| Rod Seller | Rod tiers and crafting | Every island except two | Island-specific stock |
| Fish Buyer | Buys your catch | Every island | Not favourited fish |
| Skill Upgrades | Raises skill damage | Skill hubs | Priced in Essences |
| Enzo | Boss encounter | Boss arena | Level 1000, Easy and Hard |
| Maoshan Merchant | Wandering stock | Rotating spawn | Every 30 minutes, leaves after 10 |
| Taoist Merchant | Wandering stock | Rotating spawn | Alternates with Maoshan Merchant |
| Spirits | Timed interaction | Bamboo / Frost / Amber Isle | Hourly, 50M cash, 20% success |
NPC Profile Details
Sage Yijiu
Primary skill vendor
Nanjiang
Trait reroll NPC
Bait Seller
Luck-odds shop
Rod Seller
Your upgrade path
Fish Buyer
Converts catches to cash
Enzo
Level 1000 boss
Wandering Merchants
Timed rotating stock
Spirits
Hourly timed interaction
Set Spawn
Universal spawn NPC
Spawn Boat
Boat access NPC
Core Mechanics
NPCs in this game divide into three behavioural groups, and the group matters more than the individual shop. The fixed ones — Rod Seller, Bait Seller, Fish Buyer, Sage Yijiu, Nanjiang and the Skill Upgrades NPC — stand in a place and wait for you, with Rod Seller and Sage Yijiu appearing on multiple islands with different stock. The two universal NPCs, Fish Buyer and Set Spawn, exist everywhere, which is why selling and respawning never require travel. Then there are the timed ones, and this is where planning actually changes: the Maoshan Merchant and Taoist Merchant spawn on a thirty-minute rotation and vanish about ten minutes later, alternating rather than appearing together, while the Spirit events run on an hourly cycle across three islands and charge a significant cash fee per attempt with a low success chance. Quest NPCs sit alongside these, awarding skills, orbs and rods rather than selling them. The key mechanical consequence is that quest rewards, not shop purchases, are how most of the higher-tier items enter your inventory.
Advantages
The NPC layout is generous in the ways that matter most. Having the Fish Buyer on every island means selling never requires a trip, which keeps the core income loop frictionless no matter where you have sailed. Nanjiang sitting on the starting island puts trait rerolls within reach from the very first session, so a new player can engage with the damage system without unlocking anything first. Quest NPCs make the game friendlier to free-to-play players specifically, because skills, orbs and several named rods are awarded for completing a task rather than purchased, and a patient player can collect them without competing on cash. The timed merchants add a reason to check in across a session rather than grinding in one long block, and because they alternate rather than appear together, the spawn window always has something to look for. Rod Sellers that craft as well as sell give a second route to the top tier.
Challenges
The timed NPCs are the sharpest edge in the whole system. Wandering merchants spawn on a half-hour rotation and leave after roughly ten minutes, so missing the window means waiting for the next one, and the top cash rod is only available through them rather than from any fixed shop. The Spirit events are harsher still: they appear hourly on three specific islands, run for about ten minutes, and charge on the order of fifty million cash per attempt with only roughly a twenty percent success rate — a failure spends the money without returning anything. Bait pricing compounds the usual purchasing-order trap, since the top tier costs dramatically more than the entry tier for a much smaller marginal gain. And because roughly nineteen NPCs are scattered across ten islands with no in-game directory, players routinely waste sessions looking for an NPC that is on a completely different island.
Frequently Asked Questions
Which NPCs are on every island in Heavyweight Fishing?+
How often do the wandering merchants spawn?+
What do Spirits do and where do they appear?+
Where do I buy bait and is it worth it early?+
Quick Tips
Keep your favourites list clean before a selling run. The Fish Buyer will not purchase fish you have favourited, and because he is the only way to convert catches into cash, a forgotten favourite becomes a dead inventory slot until you unmark it. Unmarking a fish takes a moment, but discovering the mistake after a long farming run costs the whole run's income until you fix it.
Check merchant spawns across a session rather than saving for one trip. The Maoshan and Taoist Merchants alternate on a thirty-minute rotation and leave after about ten minutes, so treating them as a recurring check rather than a destination is the only reliable way to catch their stock. Because the window is short and the merchants alternate, treating spawns as a recurring check is the only approach that reliably catches their stock.
Bring a cash buffer to Spirit events, not exactly the fee. An interaction costs on the order of fifty million with roughly a twenty percent success chance, so a failure spends the money without returning anything, and arriving with no buffer means one unlucky attempt ends your evening. Budgeting more than the fee is what turns a single failed attempt into a retry instead of the end of the session.
Buy your rod before your bait. Bait raises luck odds on the fish you hook while a rod upgrade improves every catch you make, so the same cash spent on the rod compounds across the session while the bait only nudges a subset of results. The rod also gates what you can land, so the same cash spent on bait leaves you hooking the same fish while a rod upgrade changes every catch.
Remember that Sage Yijiu has two locations. His stock on Battlefield Isle is wider than on the starting island, so a player who never sails there is working from an artificially limited skill selection, and the fix is a boat trip rather than more levels. Nothing about the starting island signals that his stock is incomplete, so the gap is invisible until you compare selections across locations.
Featured
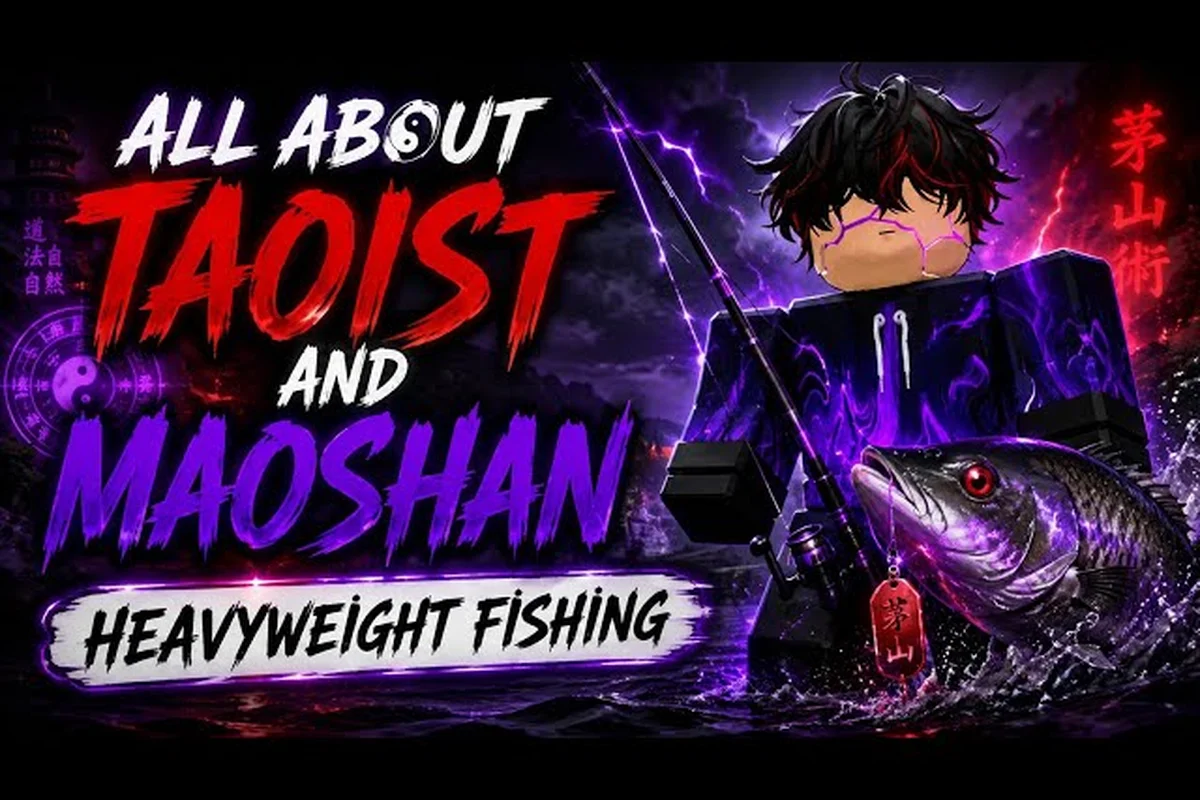
Heavyweight Fishing Blind Grand Angler: Quest, Rods & Skills
Find the Heavyweight Fishing Blind Grand Angler on Battlefield Isle, unlock Astral Grand Art Zenith, and meet the Giang Lao and Maoshan merchant NPCs.
Heavyweight Fishing Hidden NPCs: Bosses, Quests & Drops
Find every Heavyweight Fishing hidden npcs from Enzo on Fallout Isle to Ha Dieu De on Frost Isle, unlock their bosses, and grab the rarest skill drops.
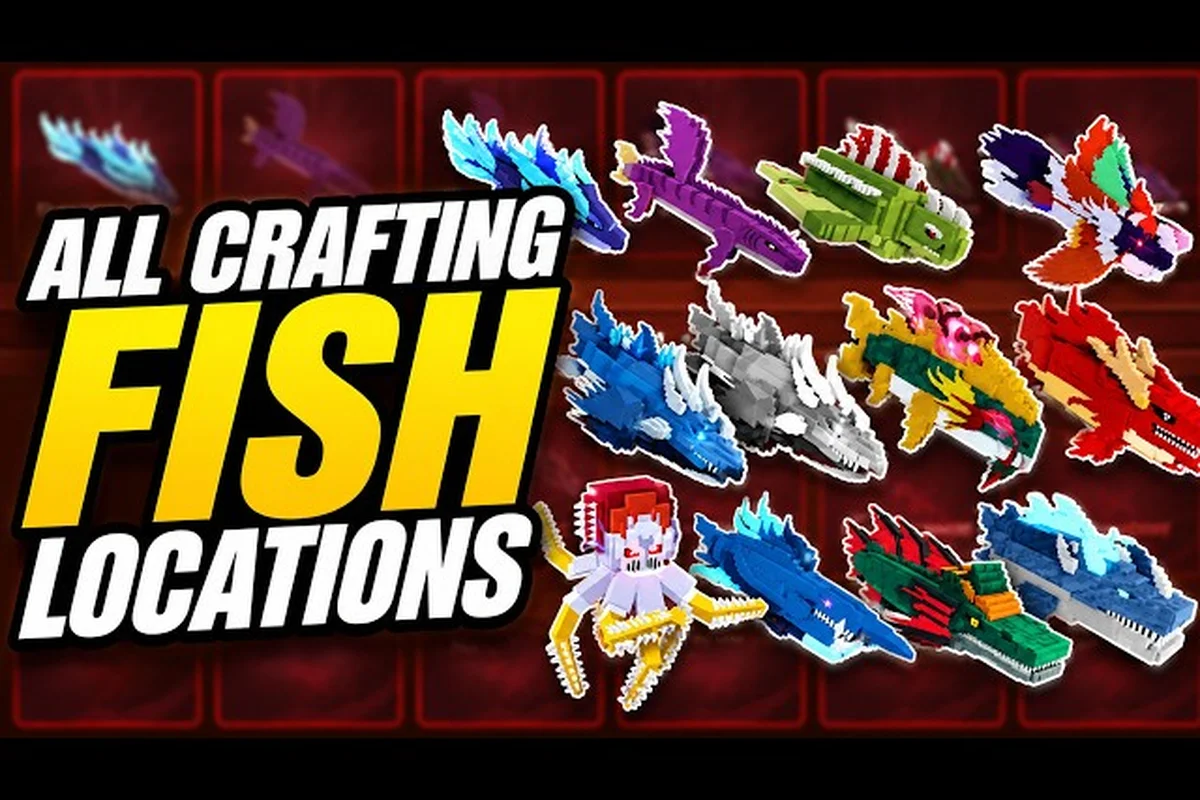
Heavyweight Fishing Reward Guide: Bait Types & NPC Payouts
Stack Heavyweight Fishing rewards with the right bait, from Normal Mash to Elite and Frost Queen crafting, and pick the NPC payouts worth chasing.
All Articles

Heavyweight Fishing Sage Yijiu: Skills, Boats & Quest Rewards
Use Heavyweight Fishing Sage Yijiu to buy skills, set your spawn island, upgrade damage with Essences, and unlock every Battlefield Isle quest reward.

Heavyweight Fishing All NPCs: Quests, Rewards & Bait Shops
Meet every Heavyweight Fishing all npcs from Bac Minh to the Bait Seller, complete their quests, and stack the best bait, orb, and skill rewards across all islands.
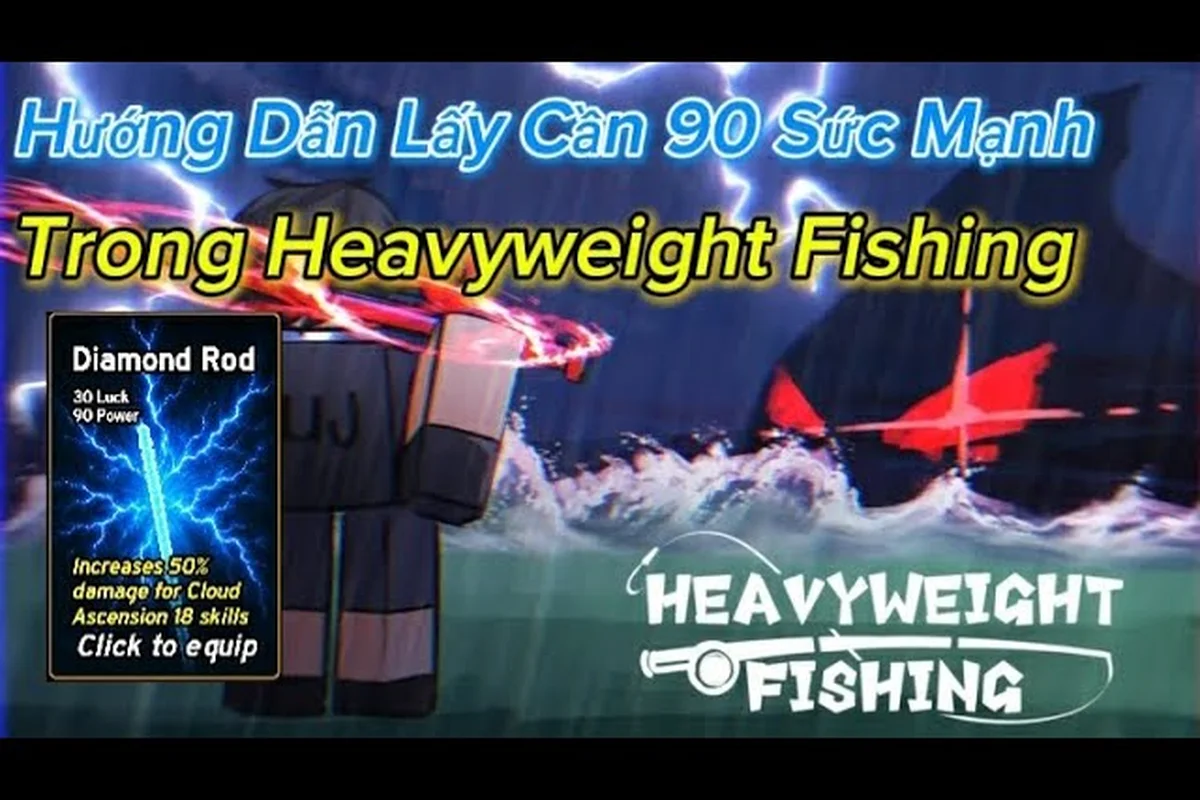
Heavyweight Fishing Bait Stats: Best Shop Buys & NPC Upgrades
Compare Heavyweight Fishing bait stats at the Bait Seller, grab the best skill damage upgrades from Essence NPCs, and spend cash where rare fish odds rise.
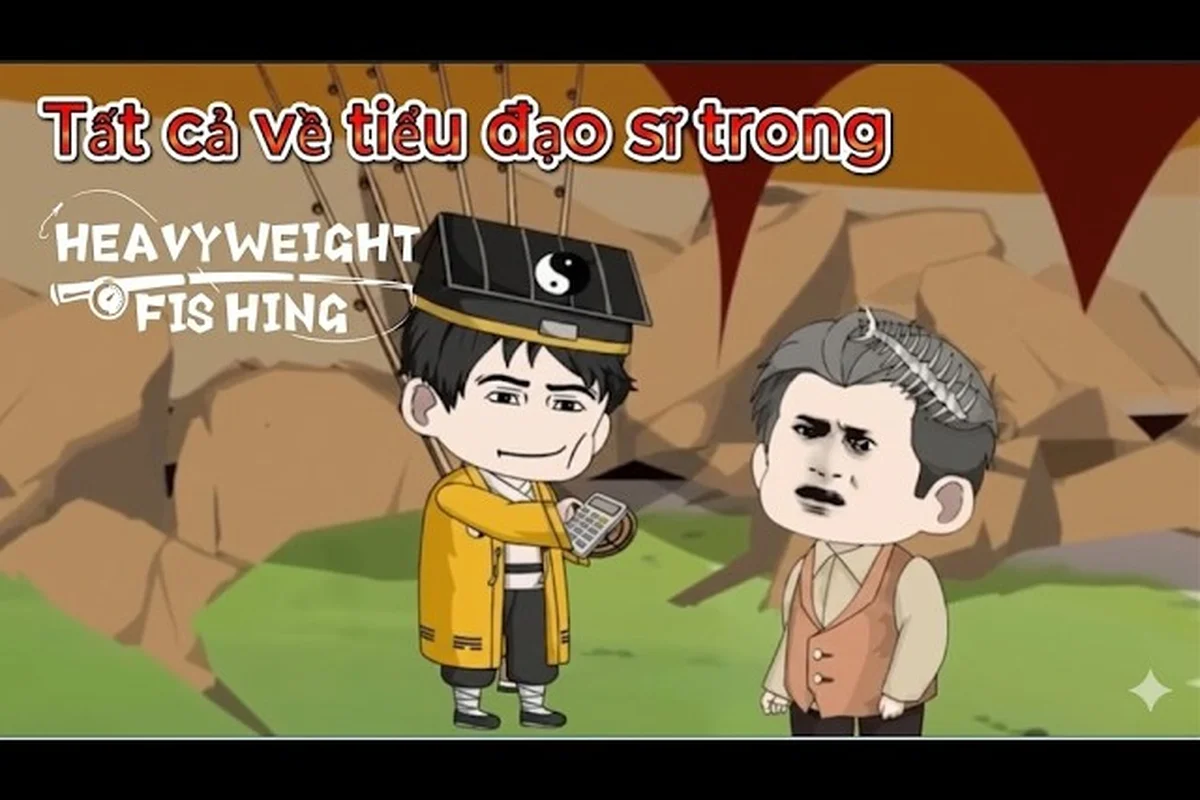
Heavyweight Fishing Rare Merchant: NPC Locations & Quests
Track every Heavyweight Fishing rare merchant from Bac Minh to the Blind Grand Angler, and finish their quests for top orbs and skills.