Guides
Heavyweight Fishing guides for Roblox: the first-session route, cash and level curves, rod timing, skill loadouts and the mistakes that leave new players stuck on the starting island.
Introduction
Heavyweight Fishing is easy to start and easy to misplay. You spawn on Beginning Isle with a handful of cash and a Rod Seller standing next to you, and the game gives you almost no direction beyond that. The guides collected here exist for exactly that gap: they cover the first session in order, then the decisions that shape everything after it. The progression loop itself is short to describe — catch fish, sell them to the Fish Buyer, spend the cash on a stronger rod, sail to an island that stocks better fish, repeat — but the timing inside that loop is where players lose hours. Buying bait before a rod upgrade, sailing to an island whose Rod Seller you cannot afford, or rolling traits onto a skill you will replace all cost more than they look like they cost. Each guide below breaks one of those decisions down with the actual numbers, the level requirements and the order of operations, so you can plan a session instead of guessing at it.
Guide Hub Quick Reference
| Guide Hub | Focus | Where | Key Fact |
|---|---|---|---|
| First session | Spawn, rod, first sells | Beginning Isle | Bamboo Rod at 100 cash |
| Cash curve | Rod ladder pacing | All islands | Save toward Iron Hook Rod, not bait |
| Level curve | Ticket quests and boss gates | Beginning Isle onward | Level cap 2000 |
| Damage stack | Skills, orbs, traits | Skill hubs | Skills need Essences to upgrade |
| Map route | Island unlock order | 10 islands | Boat via the Spawn Boat NPC |
Guide Hub Breakdown
First Session Route
The 30 minutes that decide your pacing
Cash & Rod Timing
When each upgrade is worth its price jump
Level Curve
Where the gates actually sit
Damage Stack
How the three damage layers combine
Map Route
The island order most players follow
Common Mistakes
What keeps new players stuck
Core Mechanics
The loop is deliberately simple so the optimisation sits in the ordering. Catching a fish gives cash and experience; selling happens at the Fish Buyer, who exists on every island and will not buy fish you have favourited. Cash buys rods from island Rod Sellers, and rods carry two stats that matter — Luck, which shifts rare-fish odds, and Power, which raises your damage and what you can physically land. Tickets come from quests, particularly the ticket quest line that starts on the first island, and several redeemable codes are gated behind a level requirement rather than being freely claimable. Above that sits the combat layer: skills bought from NPCs, upgraded with Essences, supported by orbs and multiplied by traits rolled onto single skills. Everything on the progression path is therefore gated by one of three things — cash, level or a completed quest — and knowing which gate you are stuck behind is most of the planning work.
Advantages
The strongest thing about this game's pacing is that each upgrade is legible. Rod stats are published as two numbers with a price next to them, so you can see exactly what a jump costs and what it returns instead of guessing at relative strength. Island tiers follow the same logic: each island stocks its own Rod Seller tier and fish pool, which turns travel into a deliberate economic choice rather than a scenic one. Quest rewards reinforce this, since several named rods and skills come from quests rather than cash, giving free-to-play players a route that money alone cannot shortcut. Free-to-play is genuinely viable here — there are no public Robux passes listed on the official page, so a patient player is not locked out of content. Finally, the combat layer gives the fishing loop a second purpose: skills, orbs and traits make grinding fish pay off in boss damage, so time spent farming never feels like it only bought a stat.
Challenges
The same legibility comes with sharp edges. Rod prices span six orders of magnitude, from 100 cash to hundreds of millions, so a mid-game player can easily spend a session farming toward an upgrade that a quest would have handed over for free. Crafted rods add a 50% failure chance on top of their material cost, which means the expected cost of a craft rod is roughly double the listed recipe — a detail that is easy to miss. Trait odds are brutal at the top end, with the highest band around 0.1%, so chasing it costs far more rerolls than the drop rate first suggests. Timed content punishes impatience as well: wandering merchants appear on a half-hour rotation and vanish quickly, and the Spirit events are hourly with a numeric cash cost per attempt on top. The biggest practical difficulty is informational — the game explains very little in-client, so a player who does not look things up first tends to buy in the wrong order.
Frequently Asked Questions
What should I do first in Heavyweight Fishing?+
Is Heavyweight Fishing free to play?+
How long does it take to reach max level?+
Do I need to follow the island order?+
Quick Tips
Before you buy anything, check both rod stats rather than the price alone. A rod that raises Power while dropping Luck can make rare-fish hunting harder even though you paid more for it, so the useful comparison is whether the new rod beats your current one on both numbers at once.
Never favourite a fish you intend to sell. The Fish Buyer will not purchase fish you have marked as favourites, and because he is the only way to convert catches into cash, a favourited fish becomes a dead slot in your inventory until you unmark it. Compared with the rod ladder, bait is a small marginal gain, so the ordering matters more than the amount you spend on it.
Treat quest lines as rod sources, not side content. Frost Isle and Coconut Isle Rod Seller quests award named rods directly, and several skill arts gate behind quests that ask for a specific catch or fish weight, which is often far cheaper than buying an equivalent tier outright. Checking the quest log before a farming session frequently saves the whole session, because the reward you were saving for may already be one task away.
Check the level gate before you assume a code is broken. Rewards only arrive once your level meets the requirement attached to that code, so a code that does nothing on a fresh account is usually just gated rather than expired, and the codes list on this wiki records the gate for each one.
Plan island travel around the Rod Seller, not the scenery. Each island stocks its own rod tier, so the productive question before sailing is whether the next island's stock is within reach of your current income — if it is not, earn where you are until it is. The same logic applies to island events, which are bound to specific islands and cannot be reached by waiting where you already are.
Featured
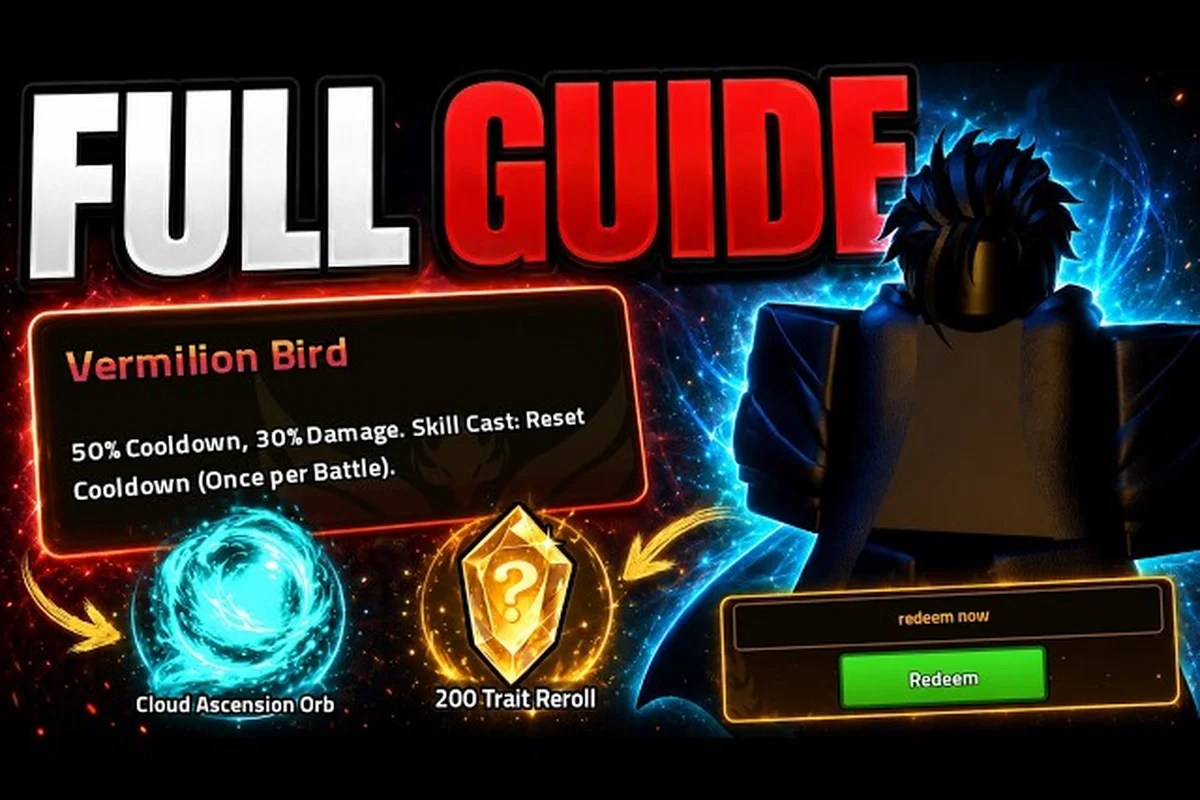
Heavyweight Fishing Beginner Guide: Starter Rods & First Catch
Start the Heavyweight Fishing beginner guide with confidence: learn how 29 Rods, 29 Skills, and core weather systems shape your first catches across 10 islands.
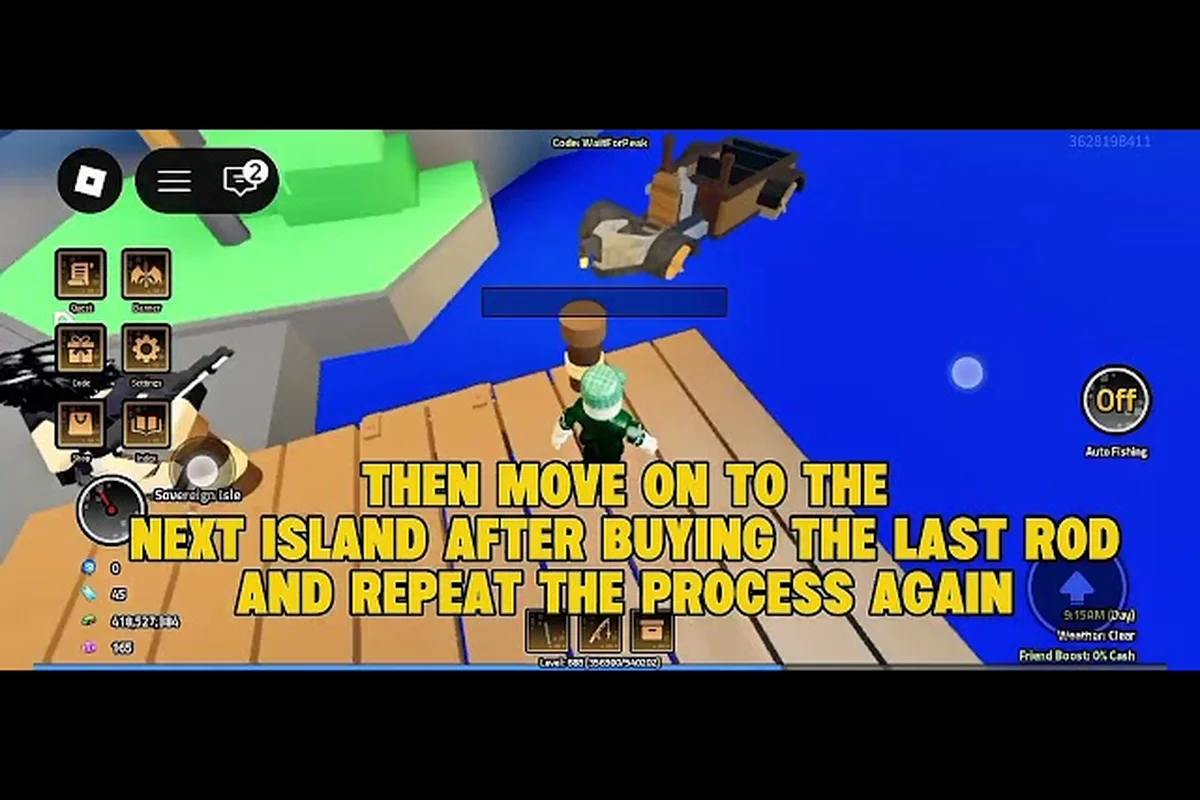
Heavyweight Fishing Getting Started: Your Opening Hour of Fishing
Start Heavyweight Fishing getting started right: buy your first rods on Beginning Isle, run the Ticket Quest, and set a Cash route that funds the next rod tier.
Heavyweight Fishing Strategy Guide: Weather, XP Routes & Leveling
Dominate Heavyweight Fishing with a complete strategy covering island-locked weather, the fastest XP routes, and smart leveling paths from early to endgame.
All Articles

Heavyweight Fishing Buff Guide: Orbs, Boats & NPC Quest Rewards
Unlock every major buff in Heavyweight Fishing: spawn your boat with the right NPC, complete quests for orbs like Bac Minh, and stack permanent stat boosts.

Heavyweight Fishing How to Get Stronger Fast as a New Player
Get noticeably stronger in Heavyweight Fishing by picking the right Rods, stacking Skills early, and following the upgrade path most new players overlook.
Heavyweight Fishing Cash Farming: Early & Mid-Game Money Routes
Stack Cash fast in Heavyweight Fishing with proven early and mid-game farming routes, high-value fish targets, and reliable income methods for free-to-play anglers.

Heavyweight Fishing Daily Quests: Hidden Rewards & Best Strategy
Crush Heavyweight Fishing daily quests with the right strategy, unlock hidden NPC rewards like Bac Minh, stack tickets, and follow a proven F2P path for steady cash.

Heavyweight Fishing Endgame Guide: Level 2000 & Boss Damage
Push your Heavyweight Fishing endgame build to the level 2000 cap, unlock the 200M Apex Eagle Hunt, and stack a boss-ready damage setup that works.
Heavyweight Fishing Walkthrough: Basics, XP Tips & Hidden Secrets
Walk through Heavyweight Fishing from basics to secrets: core fishing mechanics, the fastest XP loops, and hidden catches like the AWK Kraken Rod most players miss.
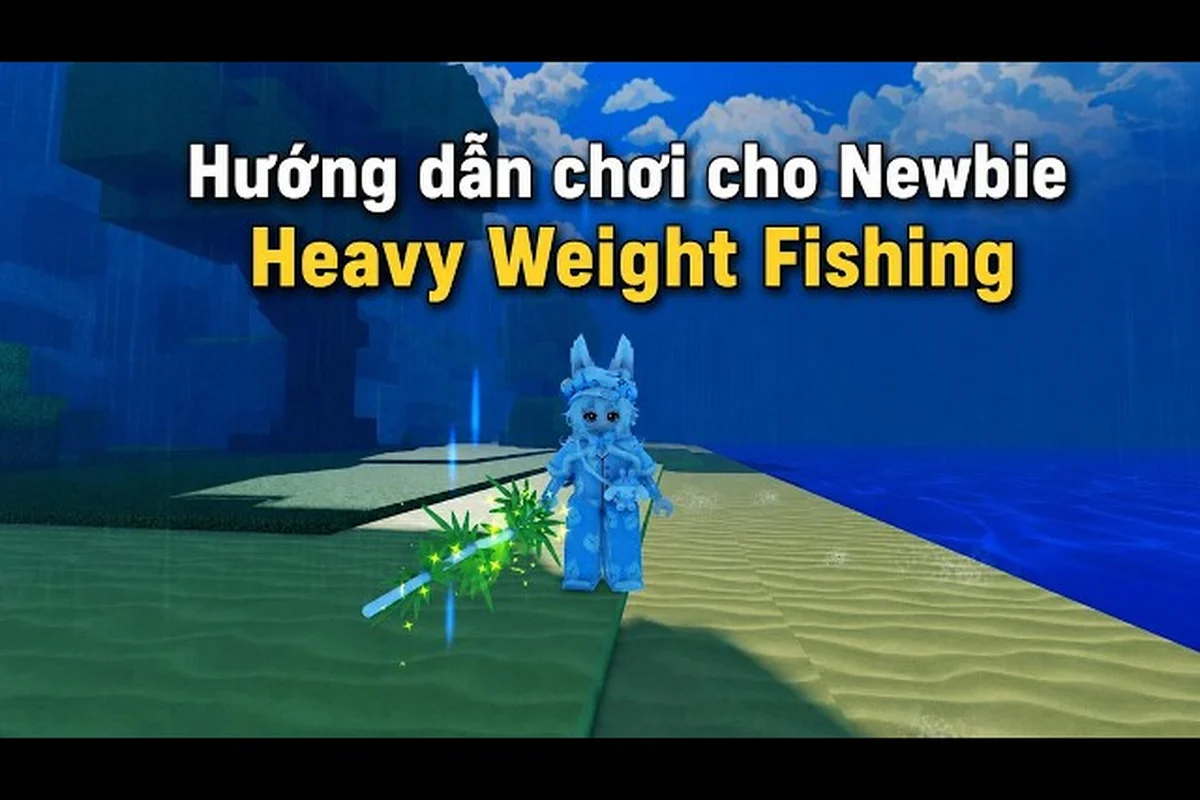
Heavyweight Fishing Free to Play Guide: What to Do First in 2026
Play Heavyweight Fishing free without spending Robux: redeem codes, buy rods with Cash, and route your first hour toward the boss gate on a noob-to-pro path.